My card today features
Purrfect Friend from
Sweet 'n Sassy Stamps. This is a long post because I actually have two cards to show. The story of how I came up with these two cards is tied together, and the rest of the story will be continued below.

Stamps: Purrfect Friend (SNSS)
Paper: DCWV, Chocolate Chip and Pacific Point (SU!)
Ink: Ink Jet, Copics (Ws)
Accessories: Ribbon, Prima's, Sizzix die, Spellbinders Scallop Circle, Curly Label Punch, Sewing Machine, paper piercing tool, flat-back pearls, cuttlebug embossing folder

I had my first experience trying to stitch a circle. Not as easy as it would seem. I first try a zigzag stitch, but that did not work at all. I ended up pulling it out. Then I was left with a zigzag piercing pattern on my colored image. Always resourceful and hating to waste anything, I decided to go with it and textured the paper with my piercing tool. I went ahead and sewed it again with a straight stitch which worked better, though still tricky. I like the final effect. I also added some tiny flat-back pearls to make a collar for my kitty.

When I was working with the paper, I loved the dots down the side of the papers. I decided to punch out the holes and lace up the papers. I really love the effect.

To balance the card, I used my Sizzix die to cut a vine and added some Prima's and flat-back pearls. It provided a nice balance of white on the card.

I carried the lace-it-up idea to the inside of the card.
Now for the rest of the story...
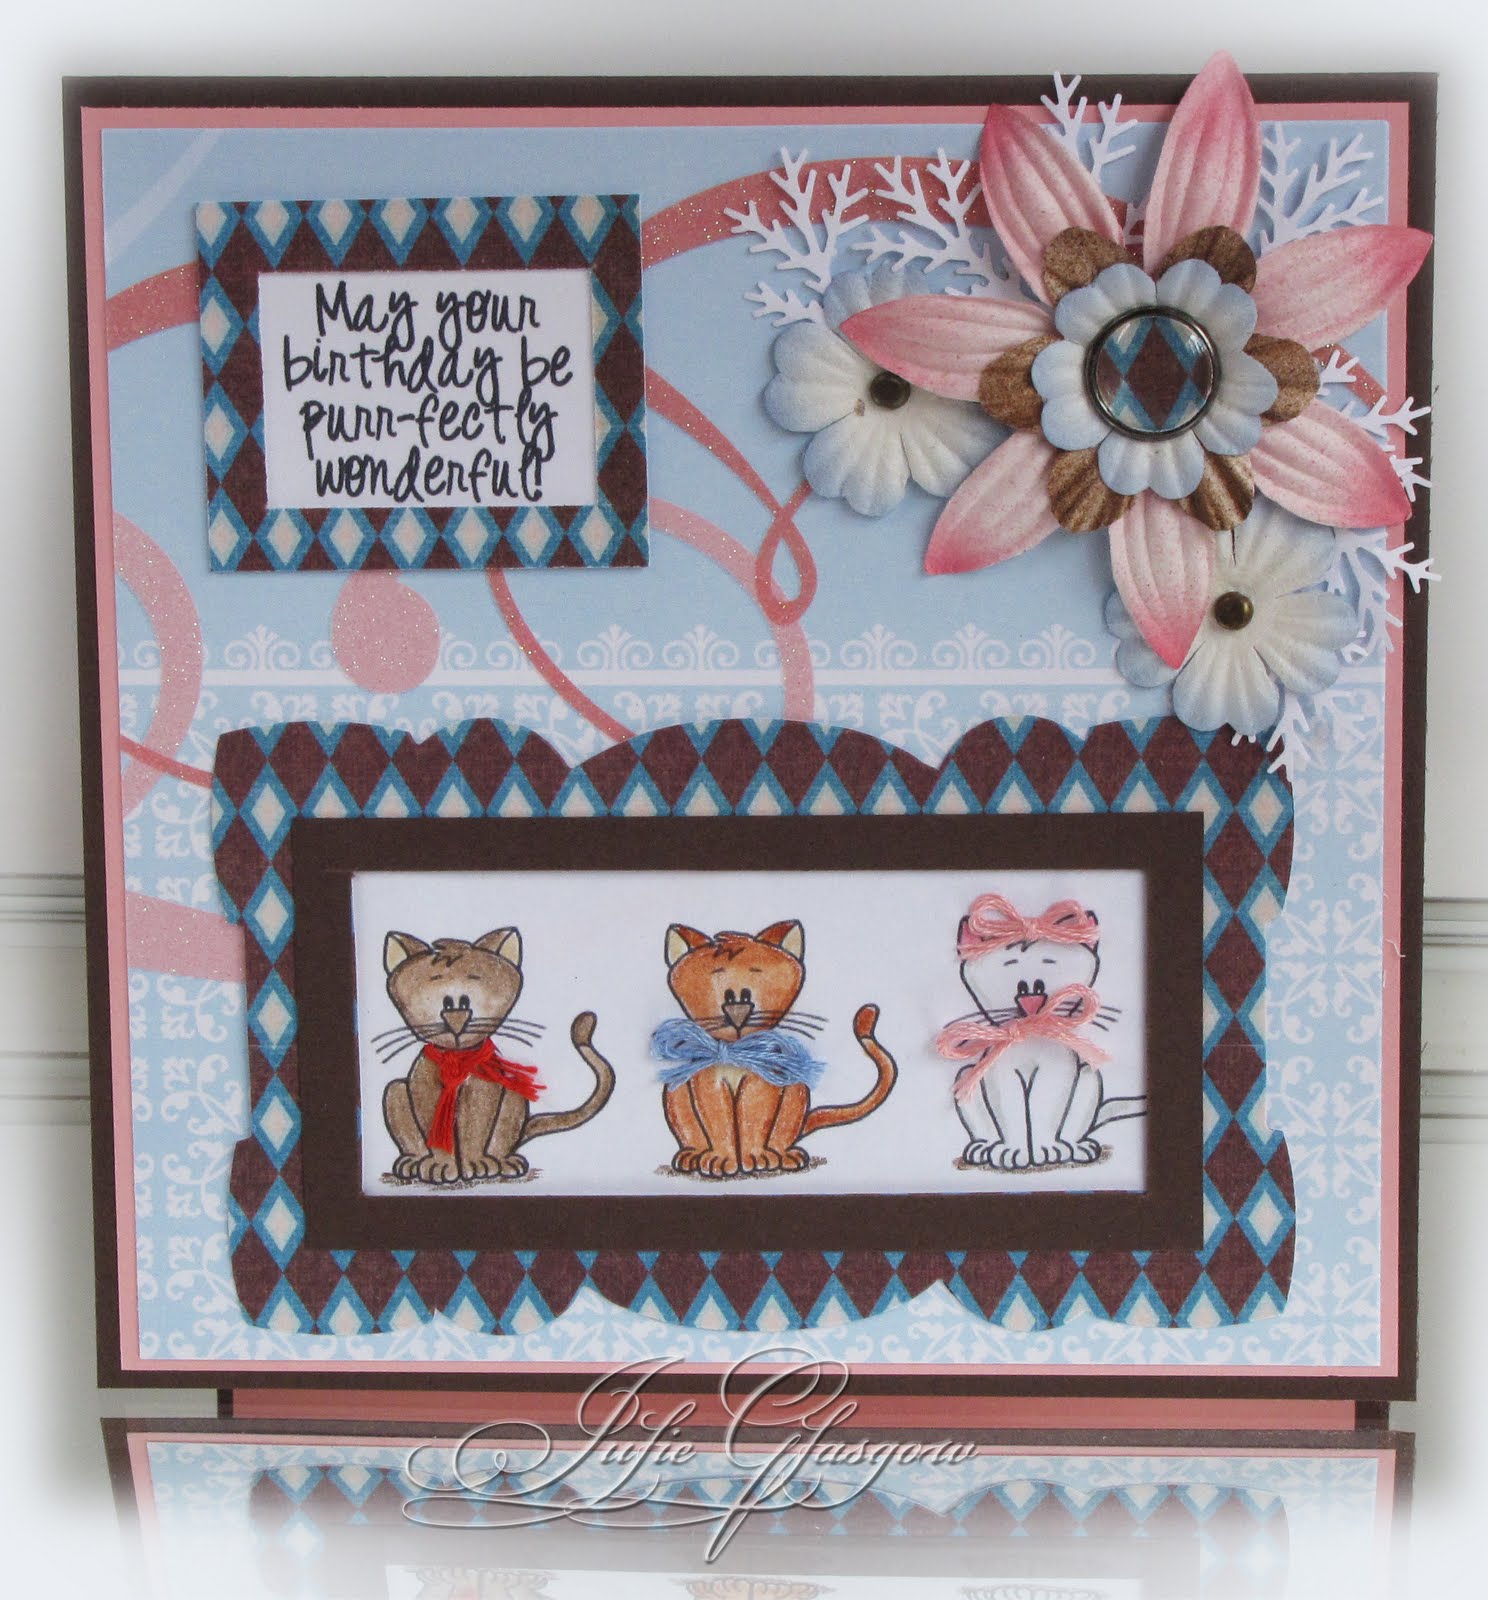
This is the image I originally intended to use on my card...

...however, there was no way to place the image on the card without covering up the lace. I finally decided to redesign and came up with the card above. Then, I was left with this completed image. The idea was inspired by the
Simon Says Challenge - Let's Go to the Movies. My idea was to create the Aristocats. I looked up pictures of the cats and colored mine based on the ones from the Disney movie. So, like I said, I started over, and here is what I came up with...

Stamps: Purrfect Friend
Paper: Chocolate Chip (SU!), DCWV
Ink: Ink jet, Prismacolor Pencils
Accessories: Sizzix die cut, DMC floss, Branch punch, Prima's flowers, Copics Airbrush System, Build-a-Brad, Vintage brads.
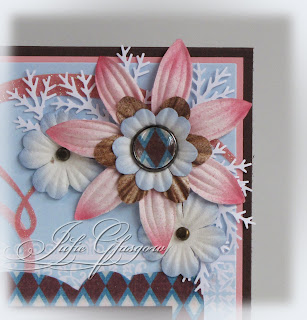
Since I had already completed my image, the card came together very quickly. The one challenge I had was finding the right flowers. I finally chose some white Prima's and colored them with my Copics Airbrush System. I finished off my flower with a Build-a-Brad and a piece of my DCWV paper that matched the frames.
The great thing is, this will be a perfect card for our friends' soon to be 7-year-old daughter who just LOVES kitties. I can't wait to send it to her.
Thanks so much for stopping by today. I hope you have a great day!